Tuesday, October 11, 2011

Fall Has Come to the Island

I'm not such a good photographer but I do like to take pictures to remind me of how pretty nature is.  This is a tree out front that has changed to it's Fall colors.  I really enjoy looking out my window and seeing those bright red leaves.

It's not cold enough yet so there are still lots of sailboats in the marina and on sunny days, they go sailing.  Wish one of them was mine.

Jaik, my diabetic kitty, seems better on his new diet.  I hope his good health continues; it's nice not to have to worry about him constantly.  He's playing occasionally again and going for longer walks so I'm thinking positive thoughts about him.

There has been lots of torrential rain here overnight and then again mid-morning.  With the advent of Fall weather, I've peeled apples and cooked apple crisps
peeled and sliced apples
and then made cauliflower soup, which is one of my favorites.  
Simmering cauliflower; still to be blended and cream added
The problem I have is that there is always too much of everything and I can't eat it all so I enjoy what I can - a few meals - then it gets tossed.  My freezer is full.  My son and daughters cook also and send meals home with me too.  It's all good.

On Sunday morning, my oldest dd called and said her dog had escaped the night before when a guest accidentally left the door open.  So immediately I began posting on PetFinders and my younger dd and a co-worker saw a posting for a found dog.  Unfortunately the finder didn't check their email as often as an owner might have liked and it was late Sunday night before I got a call saying that her dog was penned up not far from where I am.  That dog was sure happy to see me when I got there... and was ecstatic to see my dd when I got him home.  Here's a picture of the escape artist:


I am so happy he's home safe.  He was found on a highway running between cars... probably smelled a female in heat.  He had been neutered a week before and still had stitches so wasn't even supposed to be outside.  Maybe we should have had his nose neutered.

I was able to complete another block for my yellow quilt this week:
I also finished the embroidered block albeit with the machine:
It's not perfect but it's done.  Some of it hand-done; some machine-done.  Oh well, I'm not perfect... and I really am not a perfect quilter.  I think it looks good though and in the context of a very busy quilt top, it doesn't stand out any more than one of the other blocks.
One more block to go and the fifth row will be done!  Life is good.  Hope everyone is enjoying the beautiful Fall weather.

Monday, October 03, 2011

Time Flies and it's Flown Right By Me

My cat, Jaik, has been getting more and more tired and sick.  I took him to his vet and they said he had diabetes.  I've decided that I didn't want to inject him with insulin so I've been trying to change his diet to see if I can stabilize him... reading lots of cat food tin labels and online information.  It's been time-consuming. 

Jaik is 18 lbs. 4 oz.  His brother is probably close to that too.  They're big-boned long cats so I don't know what weight they should get down to.  I think Jaik was 17 lbs. when he was 6 months old. Maybe a pound and a half will make a difference.Jaik is not yet 5 years old and he's my hunny-bunny so I'm watching him closely.


I've been working on my blocks and have almost completed the fifth row of my yellow quilt mostly before Jaik was diagnosed but I'm back to working on another block right now. So, these are the blocks I've been able to finish in the past month.

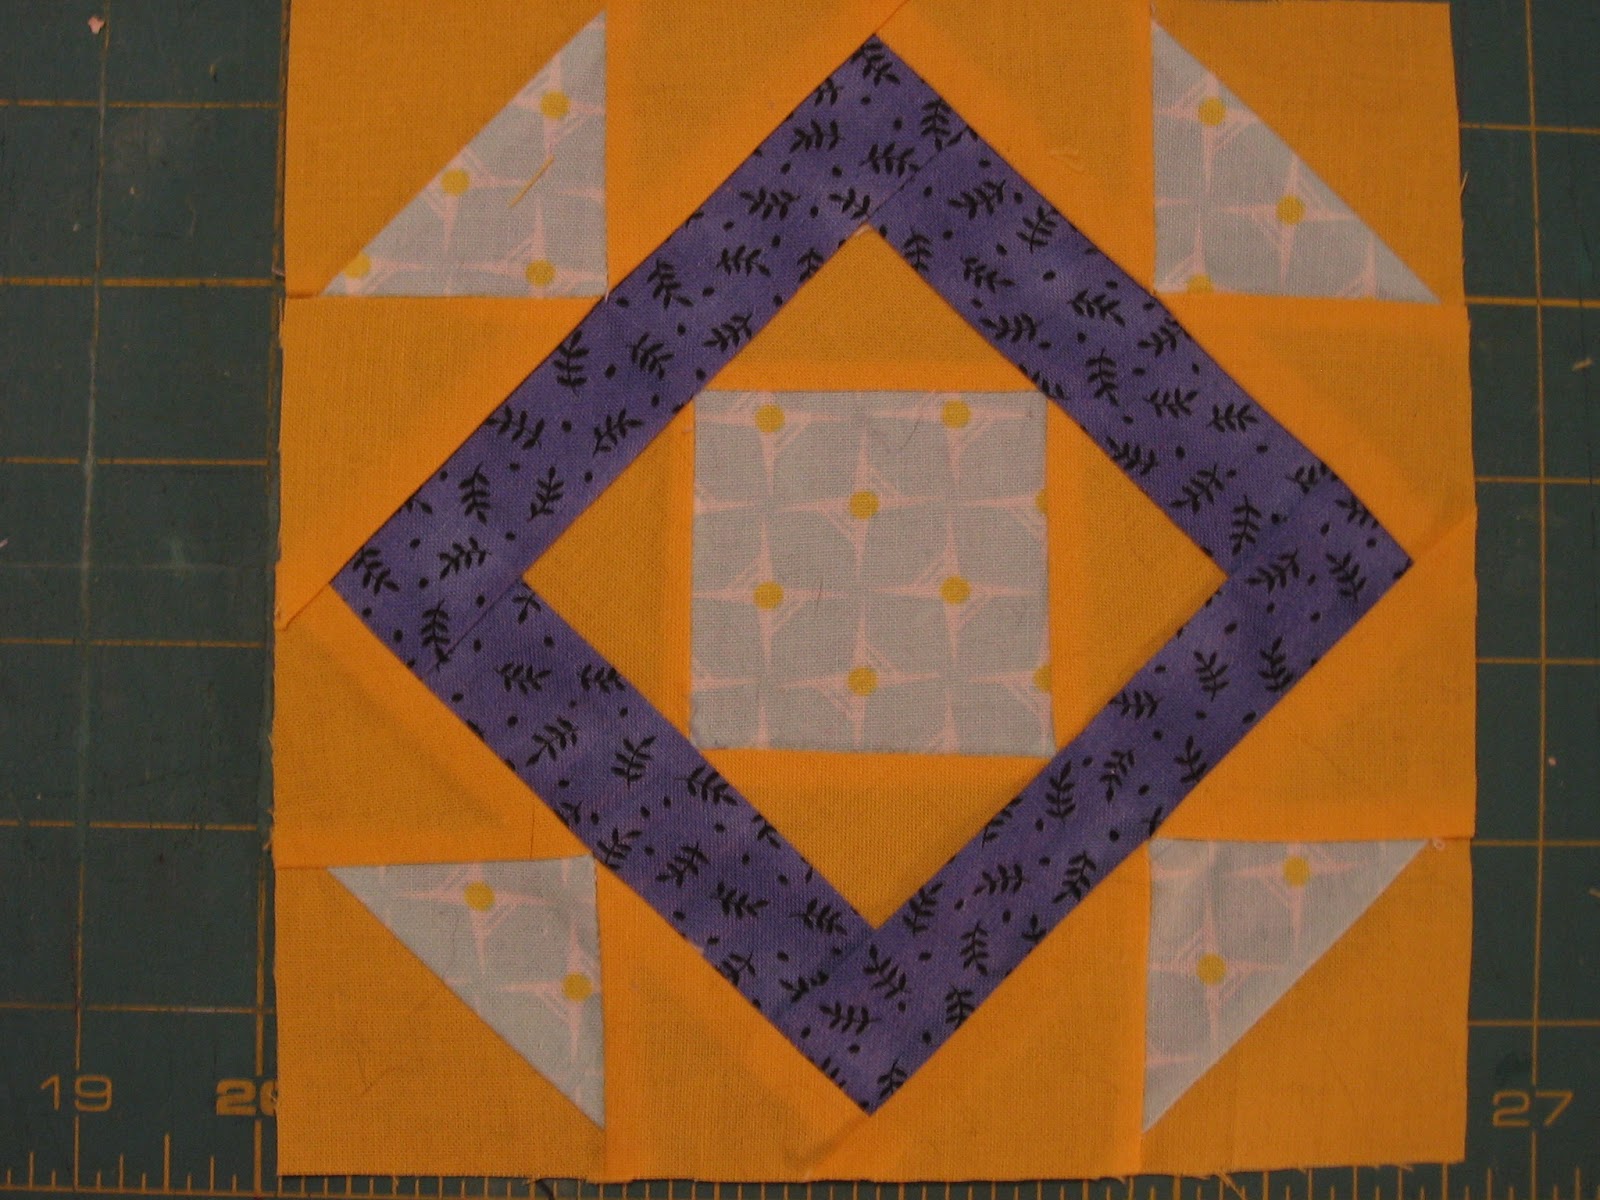
I finally got the four corners on this block and it looks really nice, I think.
 This block had to be appliquéd; I'm not good at that but I did do the green leaves by hand.  Then when it looked like it would never be finished by hand, I resorted to getting out my big ol' Janome to do a handkerchief stitch on the red flowers and blue center.  Even though I use the tiniest pins, I still find it difficult to do appliqué.  But I'm learning....

Not sure I like the colors in this one.  Lights are too light and darks are too dark... but it'll do.

These wonky 'stars' aren't my favorite but this one turned out better than I thought it would.  I usually cut off the corners of the half-square triangles. lol

This one gave me a lot more leeway since there were no corners to cut off.

This one was tricky... lots of little pointy ends that I had to keep a 1/4 inch from the side of this 6 1/2 inch block.  I think I did it!


I have two more blocks to make and I'll have finished five rows, BUT this is a 10-row quilt so 5 more to go.  I think I'll turn all of the blocks on point but I haven't researched that technique yet to see if it'll work.  I believe it will add many inches to the size of the quilt so in that case, maybe I shouldn't make all 10 rows???  OR, maybe someone in my family can use a double king size quilt??  Anyway, much more work to be done....

Thursday, September 01, 2011

Another birthday today

It's my middle son's birthday today.  Amazon is a lifesaver for getting gifts to loved ones on time.  I sent him 4 perfect wine glasses which I think he'll like a lot.  They've moved into their new house and now are concentrating on selling their former home and remodelling their new one.  I miss their cute little daughter and all the pool fun we had while they visited.


I also have to make a library run because our library will be closed Saturday thru Monday... arghhhh!  I just found out yesterday.

Then there is the puppy giveaway that I've been helping with... getting posters up around town and posting their cute little pictures on the Petfinders website.  They desperately need to find homes because they can't stay where they are for much longer.  Too many dogs!

I've been attempting to complete another block but something always seem to get in the way and it's taken me days to get as far as I am.
Distraction #1

 This is the middle part of the block and with no help from Jaik, it took a few hours to cut and piece together.
 This pattern from the book shows how it's supposed to look so I have to add the four corners, which will be paper-pieced.
I've copied the corner patterns onto lightweight paper and just have to start my paper-piecing.  That is, IF Jaik allows the cutting table to be used for something other than his snoozing place.


And my biggest distraction has been the fine weather we've been visited with for the past few weeks.  The weatherman is trying to make up for the cloudy Spring and early Summer we had... but too late to ripen many of the blackberries growing everywhere around here.  I try to pick and freeze bags of them so that I have some in the Fall/Winter seasons for pies and muffins etc. but looks like blueberries are going to be my go-to fruit instead of blackberries this year.

Hope you all are going to enjoy your Labor Day weekend.  I'm going to get some sewing done... I hope!

Sunday, August 21, 2011

Second iPad Case

I had visitors in town and then my birthday yesterday so I have been one busy lady.  Hope you've all been enjoying the summer too.  It's been fun... and tiring.

But the reason I'm on here posting instead of getting ready for Emerald Downs, where I'm heading off to this afternoon, is that I promised to show how to make an iPad case in more detail than my last post.  I did forget to show the sandwich but just ask if you're making one and have questions.  These cases are very sought after because they are rather expensive if you buy them online or at a store.  I'm not selling them but I would appreciate a shout-out if you make one following the instructions I'm posting.
Jaik is all ready to begin
I started by determining that I didn't have any fabric that would appeal to the people I was making this case for... so off to my LQS (local quilt shop).  I found some wonderful Australian-designed fabric and bought 1/3 yeard as well as 1/2 yard of Timtex, a stiffened material used in making purses.  That tip came from Rocks, Cats and Crafts and was instrumental in the success of this case.

 I had the fabric in my stash that I wanted to use for the interior as well as about 12 inches of thin elastic.

I only used one snap for this case, positioned in the middle and well-padded by the fabric and Timtex.


This is the Timtex.  Quite stiff but easy to work with and to sew through.  However, I used a heavy duty needle because I was sewing through many layers of fabric throughout.

So, the first thing I did was measure the outer and inner fabric with about 6 inches to fold over to put the snaps into.  About 19" L by 10.5"W.  Then I cut two pieces of Timtex the size of the iPad - one piece for the front and one piece for the back.  Mine was 7.5" by 9.5".  I then used a thin layer of quilt batting as kind of a shock absorber (in case it falls) under the Timtex.  I also cut a 2.5" by 9.5" length of Timtex for the flap where the magnetic snap was to be inserted.

I used Elmer's All-Purpose Glue in the stick form to hold everything together as I sewed a square about 2 inches from the sides and the middle fold on each side to anchor the
outside fabric, batting, Timtex and the inside lining together.  As I did this, I laid the iPad onto the sandwich to be sure I had left enough space between the front cover and back cover so it would close nicely but securely... and that the flap would fold over to enclose and hold it.

For the flap, I only tacked the sandwich together so I would have working space to put the snap on.


Sorry for the poor picture but wanted to show you how I folded the triangles to hold the iPad and inserted elastic in the corners - slightly stretched so the iPad wouldn't slide out but would be easy to insert.
 I sewed across the width of the cover as I sewed the corner triangles to provide stability to the fold area.  This is showing the flap area and how the triangles were sewed on with the raw edges out toward the edge so they would be enclosed in the binding.

I securely pinned the triangles in place and checked to be sure the iPad would slide in and out fairly easily... but not loosely.
The layers here are secured with stitching and the triangles are in place.  At this point, I inserted the snaps in the upper cover and in the flap.  No sewing was necessary because the snaps had metal bits that folded sideways to hold them in place.  I used my sharp pointed scissors to cut holes for the metal points making sure they were securely through the Timtex.  Any sharp, pointed instrument like a seam ripper would have worked too.


 I tried to line up the design so the entire pattern would show up, but those were some long, twisty snakes and it wasn't easy.  lol


So the iPad fits inside.  The flap folds nicely and I'm ready to sew on binding.

At this point, I trimmed the sides so I would have a good straight edge to sew on my binding.

This shows it open without binding.

Starting the binding.  For those of you who haven't made binding before, the instructions are on this site.  I bookmarked it because I always forget some detail.

Basically, take a piece of fabric, fold it back to the selvedge in a triangle, cut the square of fabric (20" square) then cut that in half.  Sew them back together so they are no longer a square and you have points on each end.

Draw 1 3/4" lines on the fabric.

Fold the fabric so there is a line that is not connected.  Connect the other lines and sew a seam.

It will look like this after you sew the seam.  Start cutting on the line and you will end up with many inches of bias binding fabric.

I used a 3/4" seam maker tool to fold the fabric into binding.  I love this little thing and use it quite a bit but would like to get some other sizes too.


So, I'm pulling the fabric through and ironing the folds as it comes through.
And here it is, all sewn on.


The iPad fits in nicely and will be protected against falls now. It also stands up by folding the flap inward and the back down into a triangle.  It works well on rough surfaces but will slide down on smooth, slippery surfaces. 


The back with the snake head positioned well.

I made this one for my grandson and granddaughter who are 10 and 12 and they liked the snake.

And here it is from the front.  Easy to make in 2 or 3 hours and much more reasonably priced than the ones in the stores.

My poor, tired Jaik.  All that watching and waiting made him sleepy.  He's worn out.

Wednesday, August 10, 2011

iPad Case

When I brought my new iPad home, I quickly realized how unprotected it's fragile screen was and also, how slippery the back of it was to hold on to while using it.

So I googled the heck out of "iPad cases" and found numerous Kindle covers and nothing much for iPads.  I decided that I would follow the instructions on this site - Rocks, Cats & Crafts - and hope it would work.  I knew I didn't want ribbons on my case though so that would have to be changed.  Some of the things I really liked about the way that Kindle case was made were the way she made her device stand up by using Timtex, which I had never heard of.  However my local quilt shop, Esther's, had it on hand.

Closed iPad Case
Flap open

Opened flat

Standing vertically

Horizontal stand

Standing horizontally

Closed, snapped shut

I didn't take photos of the actual construction (because my camera was elsewhere) but basically I followed 'Rocks, Cats & Crafts' instructions except when it came to the ribbons.  At that point, I added a flap with magnetic snaps... and I covered the inside elastic bands with triangular pieces.

I intend to make another case for someone who has requested one so I'll take pics of the construction of that one in a few days. 


Two more blocks done!

Summer has definitely kept me busy.... this area, including Seattle, has a festival every week if not two or three per week.  To make up for the gloomy winter rain, I suppose.  Anyway it's fun to get out and listen to bands, walk and bike while the days are nice.

But I did manage to finish two blocks to begin the next row of this quilt I'm working on.  First is


Pretty straight forward block... only had to manage to line up the corners so they all met nicely.  If you click on the picture it will enlarge; click again and it will really enlarge.  Then you can see all the places where the discrepancies are, and there are a few.  You'll have to click the 'back' arrow to come back to the blog if you enlarge.  Sorry but I don't know any other way to make it work.


 Next block is...
So, here is what I've done up to this point.  Only 98 blocks to go... but I'm in no hurry.  I will stop to do other projects - birthday quilts, Hallowe'en costumes, Thanksgiving table runners and Christmas gifts etc.

Life does not stop for quilts I've found out.